M100ROM: Difference between revisions
From Bitchin100 DocGarden
Jump to navigationJump to search
(→Board) |
(→Board) |
||
| Line 22: | Line 22: | ||
[[Image:pri.png]] | [[Image:pri.png]] | ||
[[Image:sec.png]] | [[Image:sec.png]] | ||
Revision as of 10:36, 28 March 2015
NEWS!
- Mike Stein has graciously released his board design through Oshpark so that people can get access to boards and build themselves a ROM adapter for Model 100!
Supported Models
- Model 100 only
About
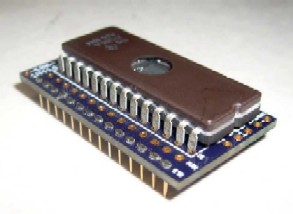
The M100ROM adapter has several (fixed at assembly time) options:
 1 - Just convert non-standard pinout to standard JEDEC, to use a 256Kb (32KB) (E)EPROM in an old M100.
 2 - Same as #1, but using a 512Kb (64KB) (E)EPROM with an option ROM image in the upper half.
 3 - Same as #2, but without pinout conversion, for use in a 'new' M100.
If you have a 'new' M100 with the standard socket you can accomplish #3 with a simple 'shim' socket that goes between the system ROM socket and the EPROM and breaks the chip select connection, replacing it with a diode-and connection (with pull-up) to both the original system and the option ROM select signals and a connection to the '512's uppermost address line. The only added connection to the board is a clip lead to the ROM select at M5 pin 5.
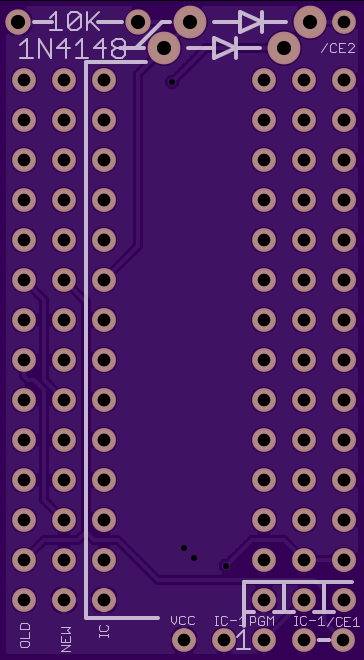
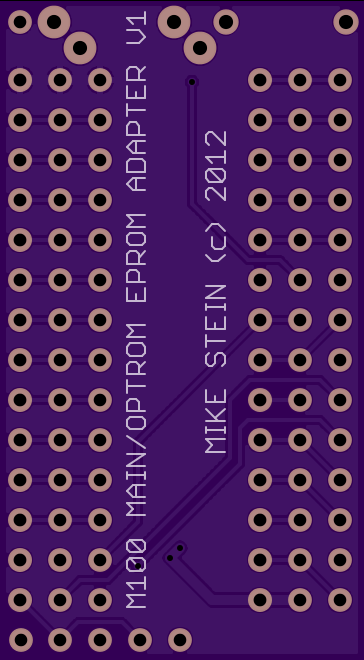
Board
Schematic
Schematic was lost unfortunately.
How to Get One
The bare PCB can be ordered here:
https://www.oshpark.com/shared_projects/Kil9S1ya
Cost is 7.50$ USD for 3 boards.
In addition, you need the following parts-
 2x 1N4148 diode or equivalent
 1x 10K 1/8W or 1/4W leaded resistor
 1x 27C256 or 27C512 (pre-programmed ideally)
 28x pins for connecting the module to the M100 ROM socket
Assembly
Installation
Installation
Installation of the hardware is a piece of cake.
Step 1
Flip over the
Step 2
Replace the cover.
Done!


