REXCPM Installation in M100: Difference between revisions
No edit summary |
No edit summary |
||
| (2 intermediate revisions by the same user not shown) | |||
| Line 1: | Line 1: | ||
The hardware you need is shown here. (You also need a 3 wire cable assembly, provided with the adapter.) | |||
{| | |||
|[[Image:rexcpm.jpg]]||[[Image:m100_adapter.jpg]] | |||
|- | |||
|} | |||
Starting from a stock Model 100, power off, flip over, and open the Expansion port cover. Remove any components that may be installed. | Starting from a stock Model 100, power off, flip over, and open the Expansion port cover. Remove any components that may be installed. | ||
Latest revision as of 16:00, 12 May 2020
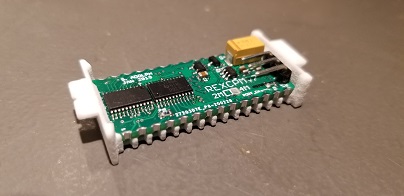
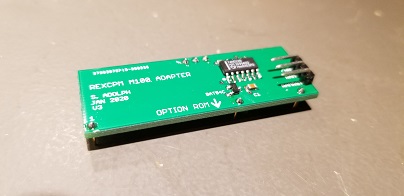
The hardware you need is shown here. (You also need a 3 wire cable assembly, provided with the adapter.)
 |
|
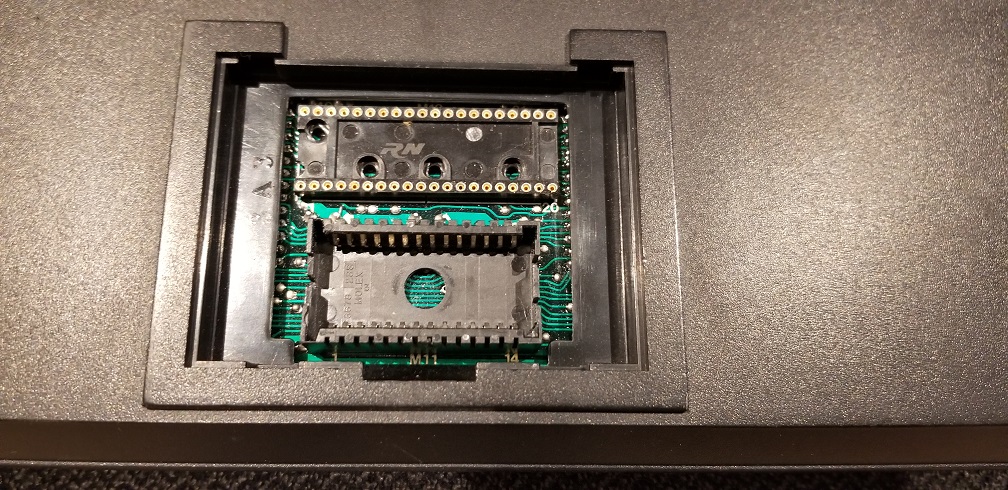
Starting from a stock Model 100, power off, flip over, and open the Expansion port cover. Remove any components that may be installed.
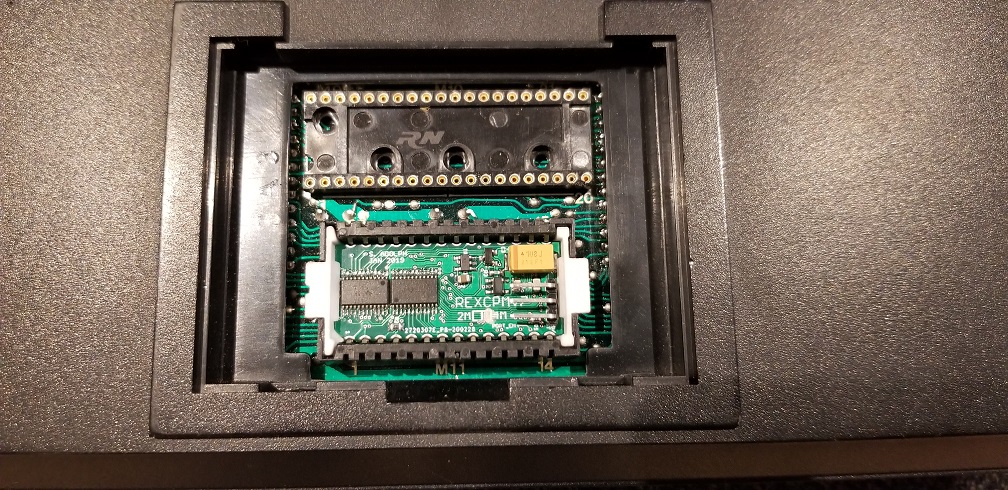
Next, insert REXCPM into the Option ROM socket. The carrier only goes in one way, to make it easier. Ensure REXCPM is oriented correctly.
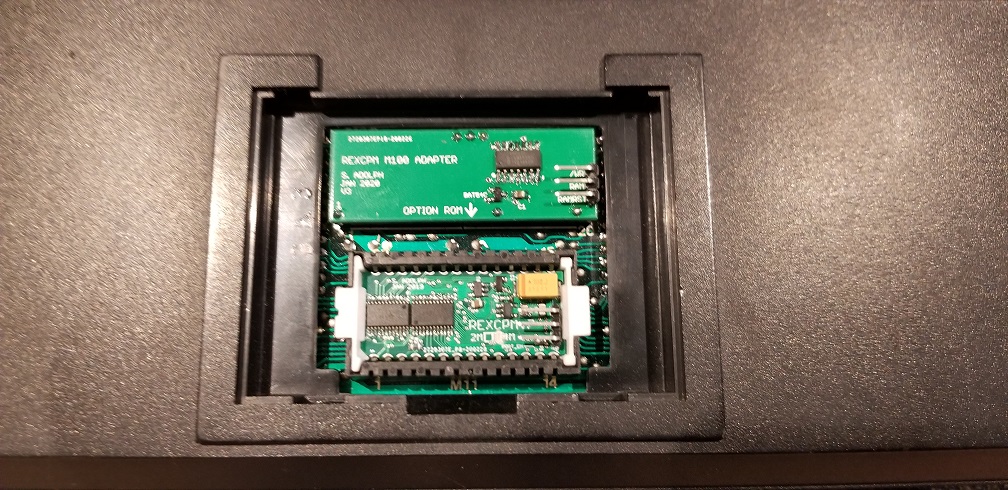
Now, insert the adapter board into the System Bus socket.
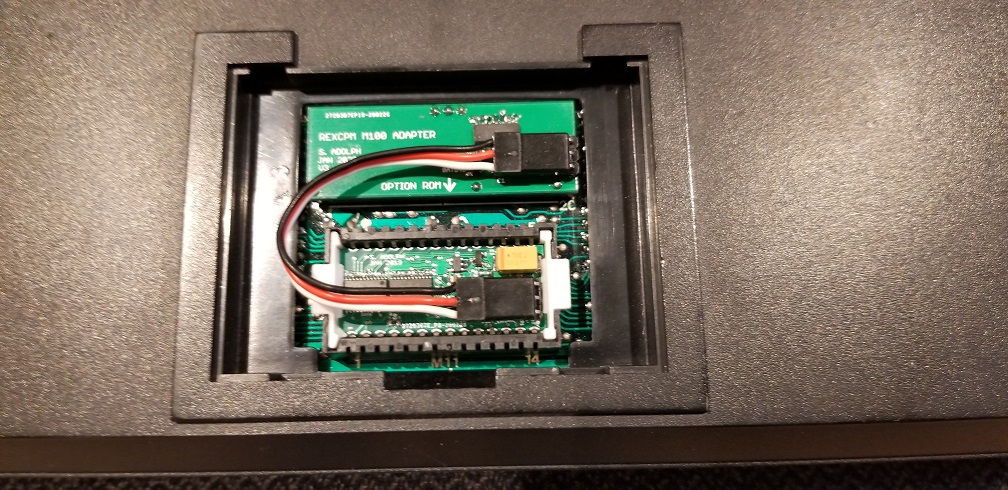
Lastly, connect the jumper cable, maintaining the color sequence from one connector to the other. What that means is, make sure the sequence from top to bottom is either Black-Red-White on BOTH the adapter and REXCPM, or White-Red-Black. Don't reverse the polarity.
All done! Reinstall the cover, flip over and turn on. The machine should boot with 32k RAM.
Notes:
  *  It does not matter how much standard RAM is installed in the Model 100
  *  REXCPM disables the internal ram and takes over the System RAM role.
  *  That big yellow block is a 1000uF tantalum capacitor, that provides 5 min of "protection".
     --> if REXCPM is removed from the socket, the capacitor keeps the SRAM intact for 5 minutes or so.
