REX Hardware Installation
REX Hardware Installation
To install REX, you must first de-install any currently installed OPTION ROM software. Follow the instructions provided with that product to correctly remove the ROM.
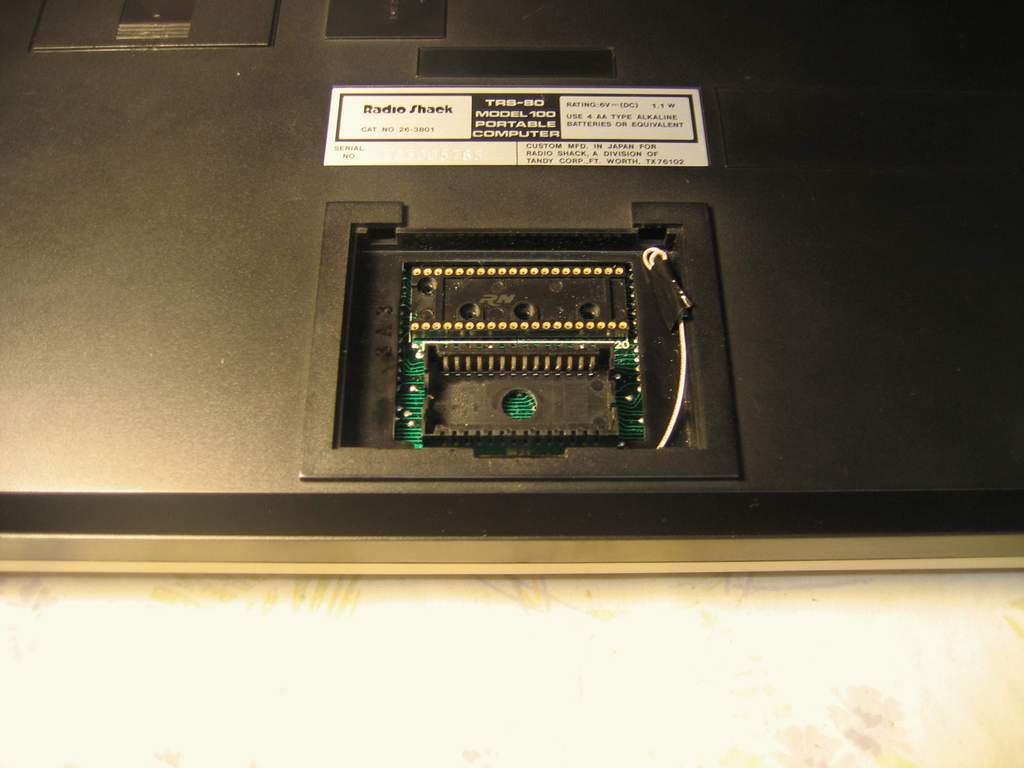
With the power off, flip over your laptop and remove the cover so that you can access the OPTION ROM socket.
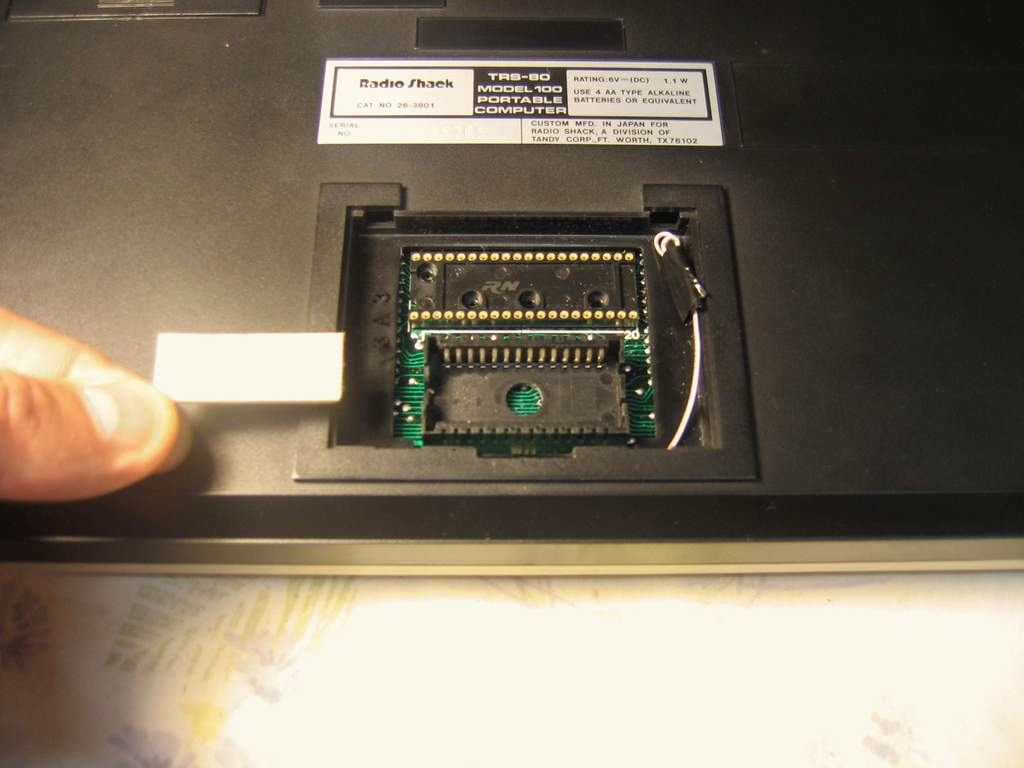
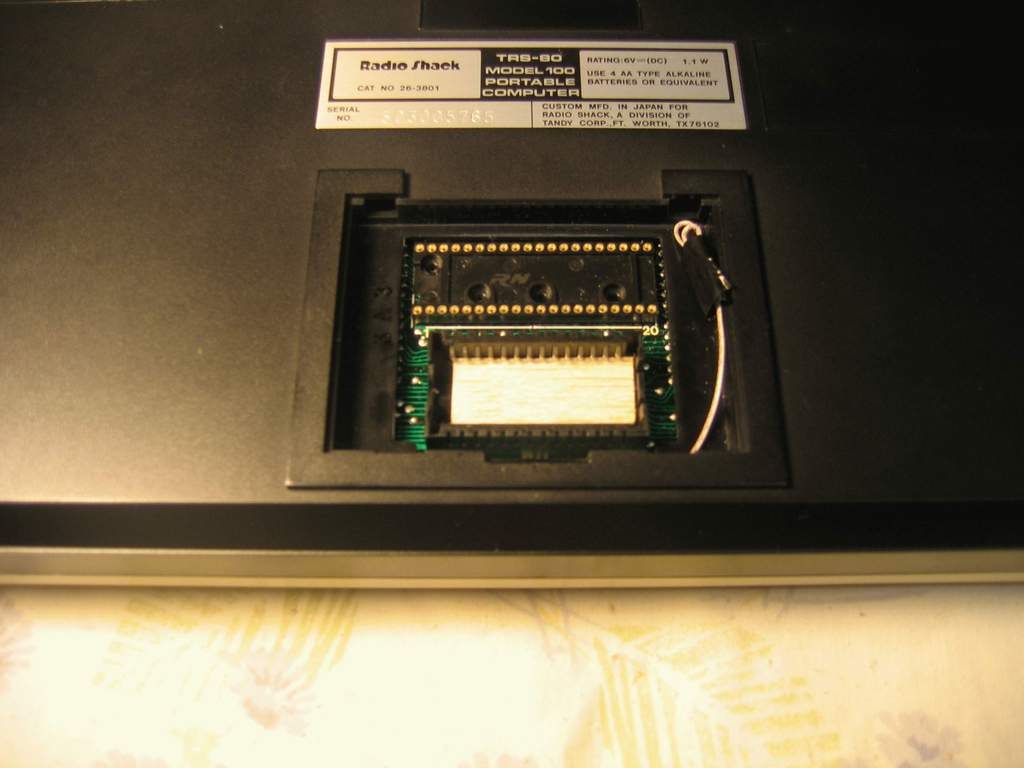
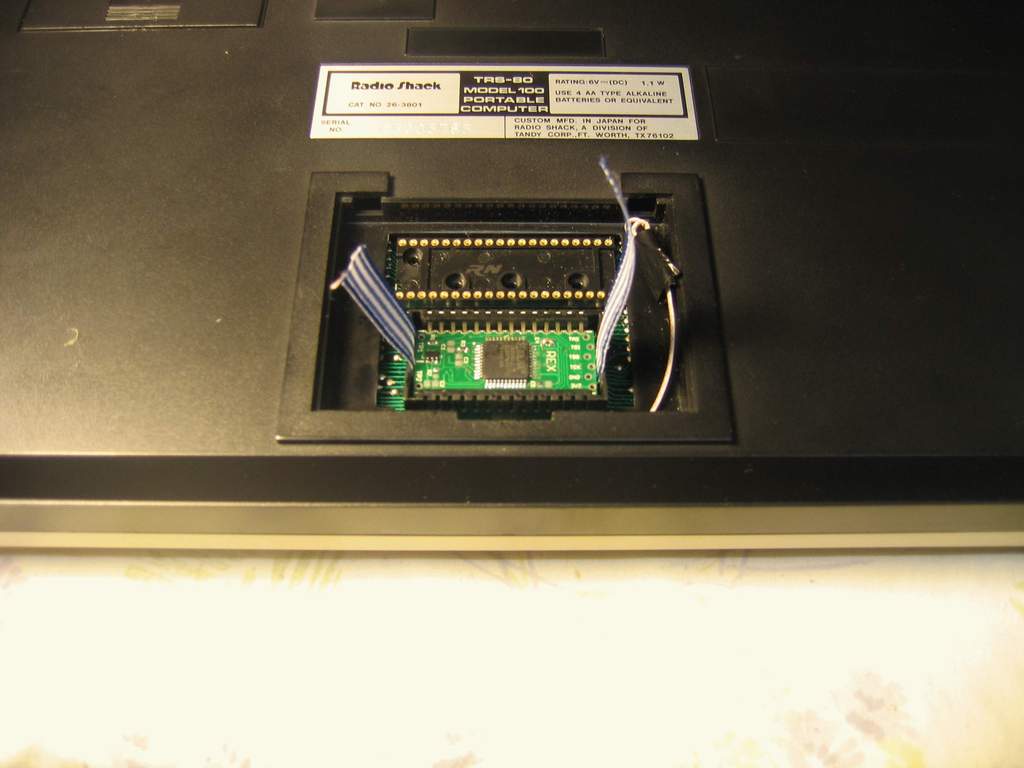
REX was provided with a balsa spacer, as well as a ribbon for extraction. First, install the balsa spacer in the OPTION ROM socket as illustrated below.
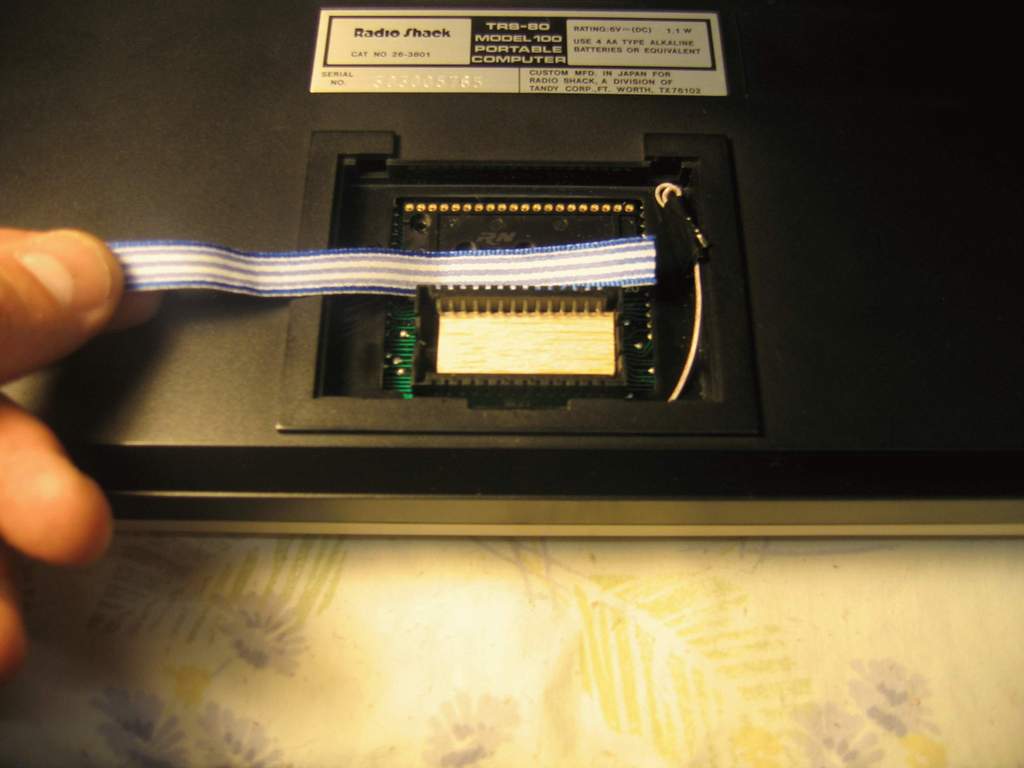
Now that the balsa spacer is in place, we can place both the ribbon and REX into the socket at the same time.
REX must be inserted in the socket in the correct orientation. First, note that REX has one side that has printed text in white characters on it. The most prominent characters are "REX". REX is placed in the socket with the text remaining visible. This is shown below.
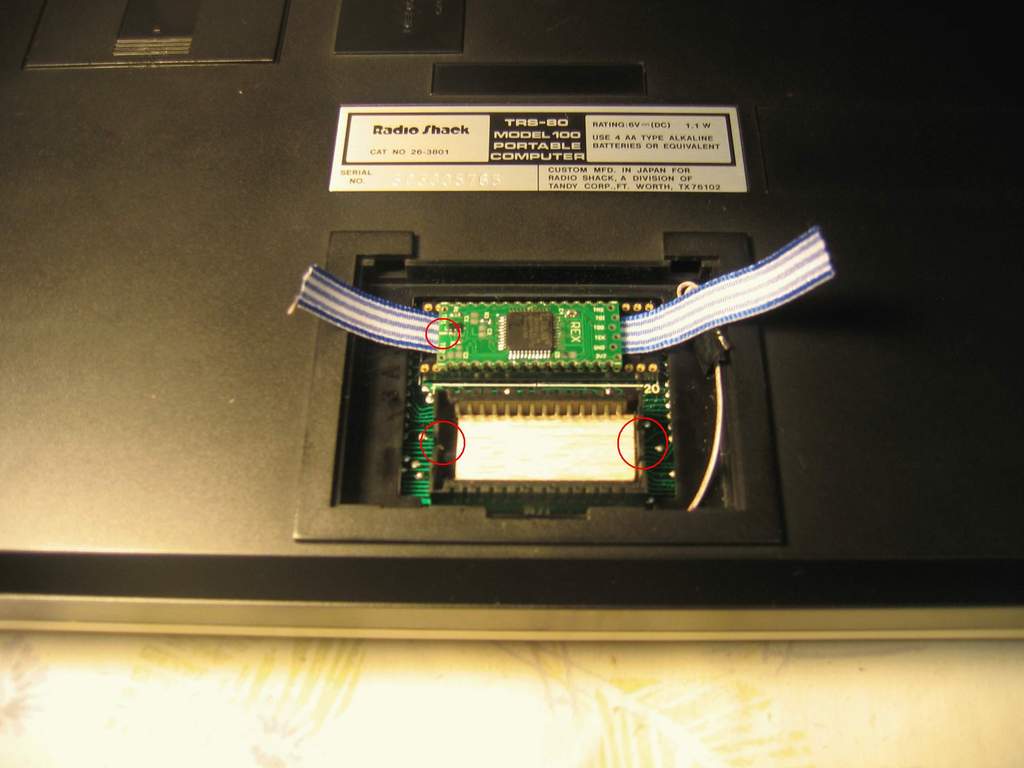
Also, it is critical to align the pins of REX with pins of the socket. (It is possible to insert REX backwards and upside down, so be careful!) Note in the image below that, at one end of REX there is a short white dash in the center of one of the short sides. This is shown in the image below, inside the red circle.
Also, take a look at the OPTION ROM socket. At one end of the socket there is a single slot running up and down in the center of the side of the socket, while at the other end of the socket there is a double slot. These are shown in red circles on the socket in the image below.
The white dash on REX must line up with the single slot on the OPTION ROM socket. This is a true statement for all installs in M100/T102/T200. (Note: TP1 means Test Point 1, not pin 1)
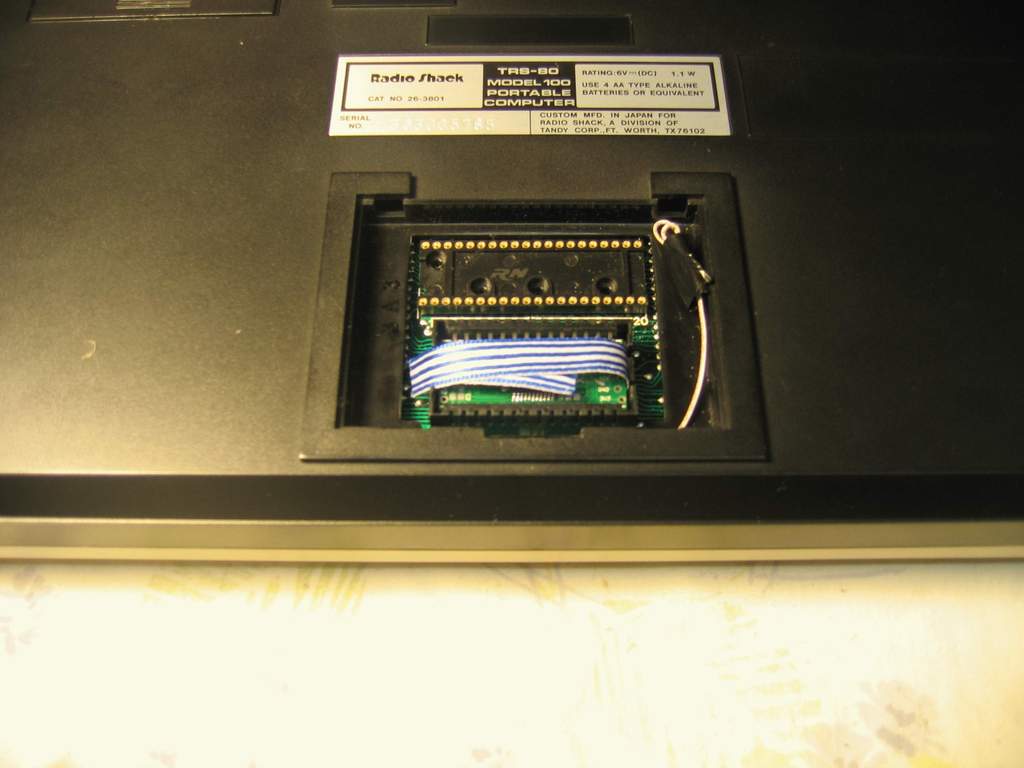
Gently press REX into place so that is it level in the socket, and fully seated, pressing the ribbon against the balsa spacer. The springy contacts of the socket should push back to allow REX to seat, and then should firmly hold REX in place.
Make sure that the ribbon is more or less centered in the socket, and that it is not caught in any of the springy contacts, as this may interfere with REX operation.
REX is now installed. Fold the ribbon over top of the socket, and replace the cover.
You can now power on your laptop, and carry on with the system initialization.
